
Whether it’s a hole from mounting hardware, or discovering a torn screen, minor damage and everyday wear-and-tear in our homes is a fact of life. Despite the rising popularity of DIY, not everyone feels comfortable making their own repairs, opting to employ professionals or family and friends, instead. Before starting your online search for a “local handyperson,” let’s look at eight easy repairs you can do around your home.

1. Repair or replace window screens
Small holes in a screen can be corrected in moments using a screen patch kit, while larger tears require a screen replacement kit. Nylon screen replacement kits are the easiest to install and contain a roll of nylon screen, spline (the vinyl cord which secures the screen inside the frame), and a spline roller (used to push the spline and screen into place).
The following video by Ace Hardware walks you through both a screen patch and replacement.

2. Fix squeaky hinges
A few drops—or sprays—of lubricating oil makes a quick fix for noisy door hinges. But, if that doesn’t do the trick, place a shim or wedge under the door for stability, and remove the hinge pins. Wipe each pin with steel wool, then replace and apply oil. Your door should operate smoothly (and silently) again.
 Image via Theme Photos, Unsplash
3. Replace door knobs and locks
Damaged or aging door knobs can be replaced with a new one using a screwdriver or electric driver in about five minutes. While new knobs come with detailed installation instructions, the video below by Pretty Handy Girl shows just how quick and easy this job is.

4. Patch drywall holes
Small holes (¼ inch or less) in drywall (also called gypsum board) from old hooks, or small dents from furniture on moving day can quickly be corrected using a putty knife and spackle. Fill the hole using the putty knife and spackle, then allow it to dry completely. Sand it down lightly and repaint the area (if necessary).
A drywall patch kit is best to handle larger holes up to 4 inches (10 cm) and typically cost less than $15. Larger holes require a sturdier material to actually bridge the gap and hold the repair for a long period of time. Follow the instructions included with the kit for the best results.

5. Replace weather stripping
The weather stripping around doors and windows deteriorates over time, so it’s important to replace them before they affect heating and cooling costs. You’ll generally need a flathead screwdriver and a utility knife or scissors, along with the replacement stripping.
The following video from HouseImprovements shows how you can replace your door’s weather stripping with ease.
Windows require a little more work as they need to be removed altogether and may have one of a variety of stripping types. If you’re choosing to take the windows out on your own, be sure to monitor window openings during this task, especially if you have young children in the house. This is more of an advanced fix, so we’d recommend leaving this to a professional or someone with more experience. Replacing windows is not quite a beginner’s activity.

6. Fix a leaky showerhead
If your showerhead leaks where it attaches to the fixture, it’s time to refresh the teflon plumber’s tape��at a cost of a few dollars. Remove the shower head, clean off any excess grime and tape using steel wool, then apply a few layers (three to five full wraps) of teflon tape in a clockwise direction (this is key so the tape won’t bunch up when you screw the showerhead back on). Then screw on your showerhead until it is hand-tight—don’t use tools to tighten as over-tightening can damage the shower attachment, causing further leaking.

7. Refresh bathroom caulking
Deteriorating or peeling caulking in your bathroom should be replaced promptly to avoid moisture incursion and mould. A utility knife can be used to peel and clean off any old caulking, then apply silicone bathroom caulking using a caulking gun.
Note: Caulking requires 24 hours to fully cure, so plan accordingly before resuming use of the respective sink, bathtub, or toilet.

8. Silence a squeaky floor
There are a few ways to correct creaky floors, which occur when the subfloor separates from the floor joists and rubs against the nails.
For wood floors, locate the joist where it squeaks (using a stud-finder), and drive two finishing nails at opposing 45 degree angles into the joist through the subfloor, ensuring they are flush. If you can access the joists from underneath (from your basement for example), affixing a shim between the subfloor and joist with carpenter’s glue will correct this.
For carpet, cut a small hole in the carpet mesh using a utility knife, then drive a flooring screw into the subfloor and joist beneath. DIY Network provides a visual step-by-step guide to making these quick flooring fixes.
 Image via Daniela Gisin-Krumsick, Unsplash
When to call a professional
Of course, when it’s a matter of scope or safety, there are times when the best thing to do is call a professional. Shoddy electrical wiring, mould incursion, basement foundation cracks, and DIY renovation foul-ups are just some of the many scenarios that are best managed by the pros.
Whether it’s your first home, an older model, or your first downsize from an empty nest, tackling your own home improvement tasks—even the simplest of repairs—can open the door to a whole new world of skills—and confidence—you never thought you had.
Source: Realtor.ca/blog
https://www.realtor.ca/blog/easy-must-know-diy-home-repairs/21364/1363
 Image via
  Image via
  Image via
  Image via
  Image via
  Image via
  Image via


 Image via
 Image via Pinterest –
  Image via
 Image via
  Image via
  Image via
  Image via
  Image via
 Image via
  Image via
  Image via
  Image via
  Image via
  Image via
  Image via
  Image via
  Image via
  Image via
  Image via
  Image via
  Image via
  Image via
  Image via
  Image via
  Image via
  Image via
 Image via
  Image via Ace of Decks
 Image via


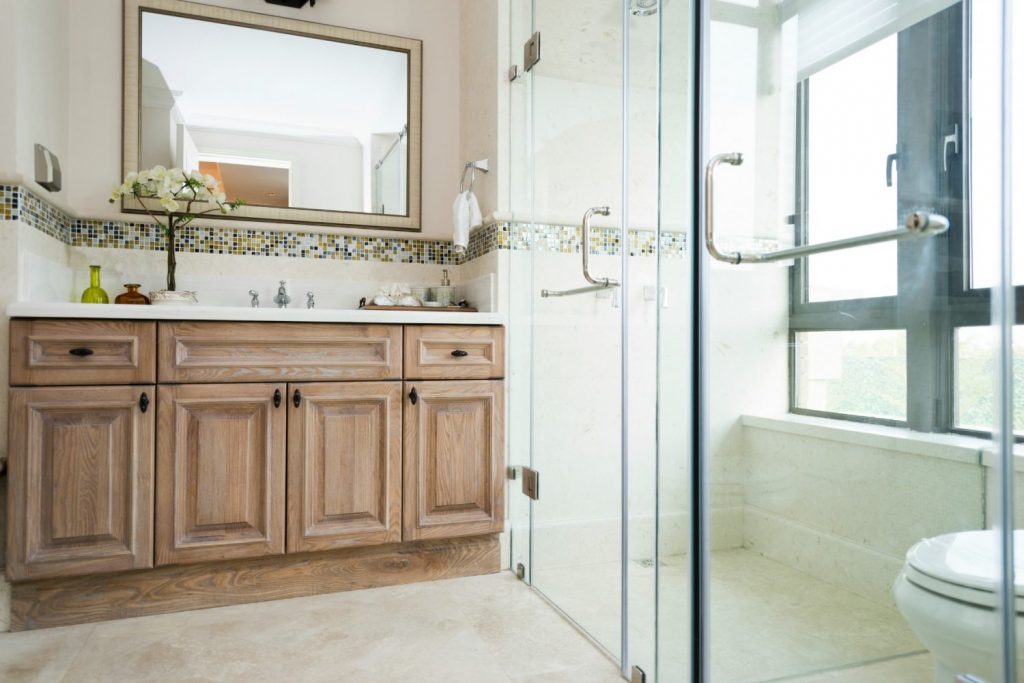
 Image via
  Image via
  Image via
  Image via
  Image via
  Image via


 Image via
  Image via
  Image via James Bombales
 Image via
  Image via
  Image via