
Your garage space can be put to many uses, from a study space or a home office, to a gym or an art studio, but as the colder weather hits, it’s not always ideal to be hanging out in an uninsulated concrete room. During these chilly months, cold air can seep into your garage from the doorway, windows, and even from exterior walls. An improperly insulated garage can even lead to damage of your storage items and heat loss from your home, resulting in rising heating costs during the winter. Luckily, there are garage renovations you can do to winterize your space for all seasons.

Seal your windows and garage door to prevent air leaks
Checking for air leaks
Check if air is leaking around your garage door or any of your windows. For windows, use your hands to slowly feel around the frame for an air draft or a change in temperature. If you feel cold air, you need to add sealant. To check your garage door, shut off any lights inside. See if you can spot any light coming in around the door. If you do, there are air leaks that need to be addressed.
Sealing air leaks
While you can always upgrade the windows in your garage to modern, energy efficient ones with storm protection, there are alternative, more affordable options to prevent freezing temperatures from getting in. To seal air leaks around your windows, place caulking around the frame. There are window caulking kits you can buy for around $15 at many major home improvement stores.
While you have the caulking, it’s a good idea to also seal any cracks in your exterior garage walls and any openings you spot around electrical outlets that are letting in cold air. It might seem like a lot of work for little reward, but sealing in these small spaces will help combat any chances of frigid temperatures entering your space.
Fixing leaks around your garage door is a little more complicated. Weatherstripping is material that creates a seal between your garage door and the garage door opening. Over time, as you continuously open and close your garage door, weatherstripping wears down, becoming brittle and cracked, resulting in leaks that allow cold air to make its way inside and warm air to escape. Luckily, weatherstripping is easy to replace with a toolkit that can range anywhere from $30 to $60, depending on the brand and where you buy it.
While replacing the weatherstripping will help you prevent drafts, an uninsulated garage door will still let in cold air. DIY insulation kits at home improvement stores come in a variety of materials such as fibreglass, reflective barriers, and foam boards and average around $200. If you’re not confident about insulating your garage door on your own, hiring a professional is the way to go.

Insulating exterior walls
If your garage has very little insulation within its walls, heat loss will occur even if your door and windows are insulated. This is especially true if your garage is unfinished with exposed wall framing and ceilings. For an easy fix, apply fibreglass insulation to the walls and ceiling. For an extra layer of protection, staple weather-resistant plastic over the insulation and seal everything in with drywall. This will help keep your garage’s temperature warmer all winter long. Once the insulation is up, you can look into adding drywall to make things look more finished, especially if you want the space to be more of a gathering place or work studio.

Renovate your garage floor
If you’ve parked your car in your garage during the winter before, you’ve likely noticed chips, scrapes, and even pockets develop on your flooring as a result of degradation from road salt. To prevent this, apply sealant to fill in the holes and epoxy coating to your garage floor. Not only will your garage flooring look nicer, it will provide an extra layer of coverage from the cold.
Protect your pipes
If you have water pipes running through your garage, keeping them warm is critical to prevent them from freezing and bursting, resulting in plumbing issues and potentially damaging anything you have stored in the space. Insulating your garage, replacing weatherstripping, and sealing your windows and any cracks are a start. To further ensure you don’t run into pipe issues, it’s a good idea to cover your pipes with insulation blankets. Taking these steps are also an inexpensive way to prevent damages and insurance claims.
Heating the space
If you’re taking the time to make your garage a usable space, you’ll likely need some type of heating element as well. Insulation will stop drafts from getting in, but it doesn’t change the temperature outside! Wall-mounted heaters save space and are relatively easy to install, but they can run up your electricity bill, depending on how often you use them. A portable heat pump could be a good investment as well, as they’re easy to set up and can be moved around depending on where you need the most heat. However, they do produce noise and take up precious floor space, so keep that in mind.
One thing you’ll want to be cautious of is any heater that uses propane, kerosene, or other gases to run. Since you’re in an enclosed space, the fumes can be harmful without ventilation, not to mention they pose a fire hazard. If you’re worried about the type of heat source you’re using in your garage, your local fire department can provide guidance as to what works and what doesn’t.

Whether you’re looking for a new space to hang out, to park your car, or even exercise, your garage will benefit from extra protection and insulation all year round.
If you’re doing major renovations or changes, such as converting your garage into a living space, a permit may be required. However, if you’re simply taking steps to winterize your garage and protect the inside from cold temperatures, a permit is not needed. The same policy is followed by home insurance companies. Major renovations need to be discussed with your insurance company as they can alter the overall rebuild value of your home. Depending on the extent of your renovations, your coverage could be voided if the insurance company is not informed. For small garage renovations you are not required to inform your home insurance representative. If you are unclear about what constitutes a small or large renovation, it’s best to review your home insurance policy for clarification.
Source: Realtor.ca/blog
For a link to the original article: https://www.realtor.ca/blog/winterizing-your-garage-for-all-season-use/28546/1367


 Photo by
 Photo by

 Image via


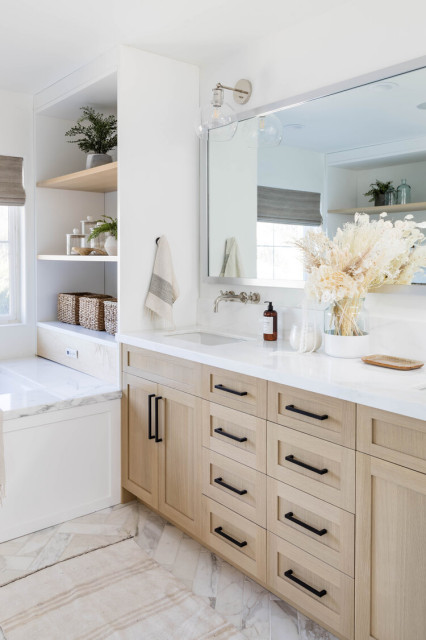
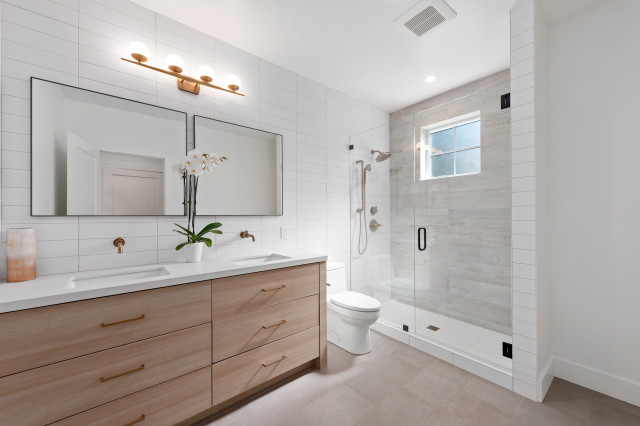


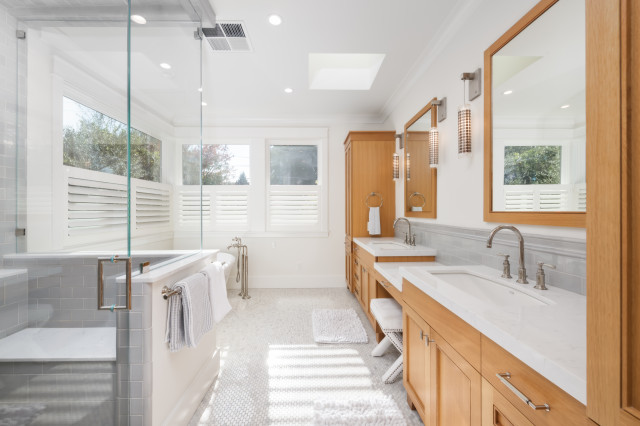
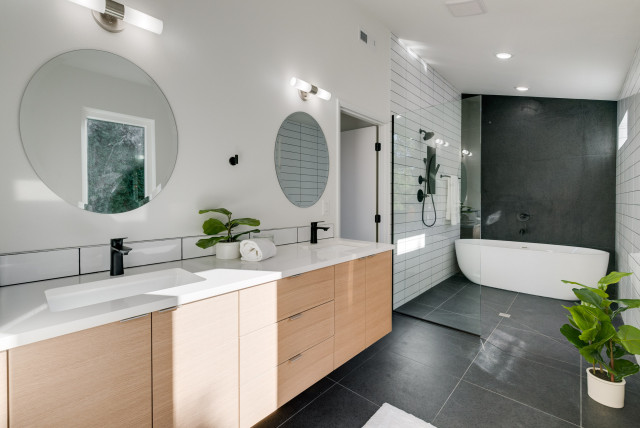

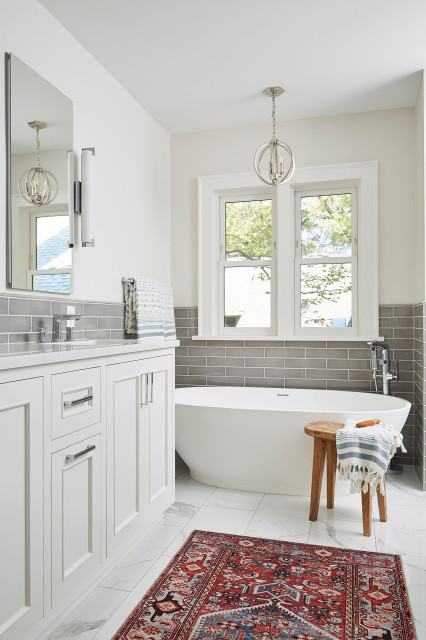


 Photo by


 Image via
 Image via

 Image via
 Image via
  Image via
  Image via


 Image via
  Image via
  Image via


“Too often I see [60-inch-long] freestanding baths in rooms that are only [70 inches] in length,” says Frances Cosway, an interior designer and principal at White Pebble Interiors, and the author of Your Forever Home. “These bathtubs are simply too big for the space. I also see vanities and showers that are the wrong scale.”
Solution: “Ensure that the bath, vanity and shower are the right scale for your bathroom,” she says. If you are specifying a freestanding tub, make sure there is space around it for cleaning.
“Freestanding baths, while fashionable, are not always the best option — particularly in a small bathroom,” Cosway says. “A [60-inch] freestanding bath is very small, and if this is your only option, a larger inset bath would be a much better use of space.
“Likewise with vanities — having a super large vanity that butts right up to the shower does not look good and is awkward to clean. Instead, choose a smaller vanity and allow some space between the shower or bath,” she says.
Tip: A freestanding tub should be about 8 inches from the wall, with at least a foot of space at both ends to allow for cleaning access, Cosway says.